
Living in an older home creates a unique form of domestic blindness. Over years or decades of routine daily life, homeowners adapt to the subtle quirks of an aging property. You learn exactly how hard to push a sticking backdoor, which floorboard squeaks in the upstairs hallway, and how to jiggle the handle on a guest bathroom fixture to stop a slow trickle. What feels like charming character to a long-term resident, however, presents a very different picture to a licensed home inspector hired by a prospective buyer.
When you decide to put an older home on the market, the property transitions from a personal sanctuary to a financial asset undergoing rigorous scrutiny. Point-of-sale inspections, municipal code compliance audits, and buyer appraisals are designed to peel back decorative layers and examine the home’s structural and mechanical integrity. Minor issues that were easy to ignore suddenly transform into major inspection red flags, leading to renegotiated purchase contracts, demands for massive repair credits, or deal-breaking cancellation notices.
Uncovering and addressing hidden defects before taking listing photos or scheduling an open house puts you in total control of the transaction. By taking a systematic, proactive approach to evaluating subfloors, kitchen substructures, exterior paint layers, and thermal envelopes, you can remediate secret home flaws on your own timeline and budget. This comprehensive guide details the most common hidden problems older homes conceal and provides practical methods to identify and resolve them before listing day.
1. Identifying Subfloor Weaknesses, Joist Deflection, and Unlevel Frames

Floor systems in older homes sustain decades of constant foot traffic, heavy furniture loads, and environmental humidity shifts. Beneath polished surface coverings, structural subflooring panels and timber floor joists gradually degrade. Because subfloors sit hidden underneath carpet, tile, or original hardwood, serious structural issues often remain completely invisible to homeowners until an inspector tests floor levelness with a laser line or explores the crawl space below.
Over time, minor plumbing leaks from adjacent bathrooms, pet accidents, or high indoor humidity cause wooden subfloors to absorb moisture. Plywood panels delaminate, tongue-and-groove boards warp, and legacy diagonal subfloor planks develop rot. Furthermore, as foundation piers or perimeter stem walls settle unevenly, floor joists can twist, bow, or sag across mid-span supports.
To evaluate subfloor integrity before listing your home, perform these targeted diagnostic checks:
-
Set up a self-leveling line laser in the center of main living areas and measure the distance down to the floor along baseboard edges.
-
Stand firmly in the middle of a room and bounce lightly on your heels while observing nearby furniture for excessive floor vibration.
-
Walk room perimeters slowly to listen for sharp popping or creaking sounds that indicate subfloor panels have detached from joist tops.
2. Leveling Dipping Surfaces and Installing Modern Surface Finishes
If your home’s original subfloor exhibits minor dipping or noise but remains structurally sound, installing fresh floating surfaces can instantly modernize the interior while masking minor subfloor imperfections. Many homeowners hire experienced flooring installers to level minor dip zones with self-leveling underlayment compound before putting down new surfaces.
Upgrading tired rooms with durable, waterproof luxury vinyl floors creates an attractive, easy-to-maintain finish that appeals strongly to modern buyers while providing a smooth, level foot feel throughout the house. Modern floating floor products lock tightly over prepared subfloors, creating a clean visual plane that reassures prospective buyers during open-house walk-throughs.
3. Uncovering Concealed Carpet Moisture, Padding Rot, and Odor Hazards
Wall-to-wall carpeting was a dominant home design trend throughout the late twentieth century, and many older homes still feature carpets that have sat in place for fifteen to thirty years. While carpet provides thermal comfort and sound dampening, aging carpet fibers and original underlayment padding act as dense sponges, trapping decades of airborne dust, pet dander, and sub-surface moisture.
Homeowners frequently attempt to prepare older carpet for listing by paying for professional steam cleaning. However, hot water extraction cleaning can actually exacerbate hidden subfloor problems. When deep water jets penetrate through worn carpet backing into aging underlayment, trapped organic dust rehydrates, releasing dormant, musty odors into the home during buyer walk-throughs. Furthermore, if water gets trapped between rubber padding and wooden subflooring without adequate airflow, it can trigger localized mold growth and rot out wood tack strips along perimeter walls.
4. Replacing Aged Floor Underlayment to Eliminate Inspection Liabilities
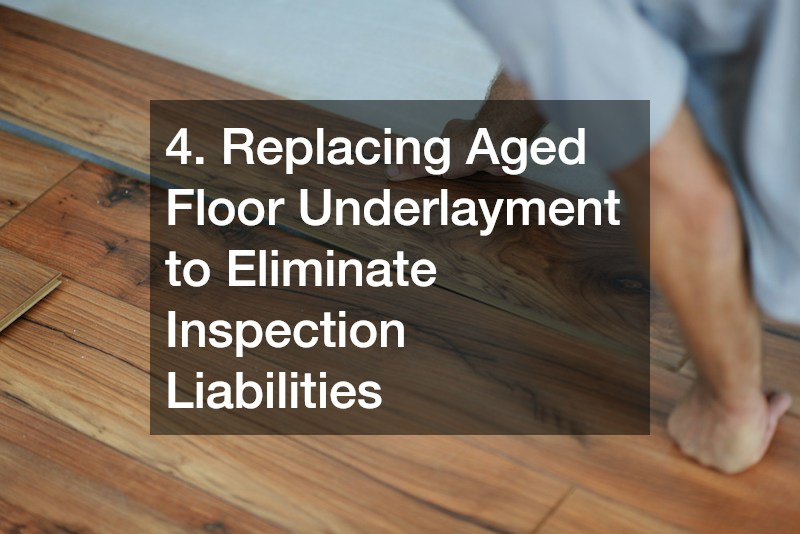
Look for these subtle warning signs of sub-surface carpet and floor decay before scheduling listing photography:
-
Pull back carpet edges in dark closet corners to examine the wooden tack strips for darkened, soft, or rusted wood indicating historical water intrusion.
-
Check if a room develops a damp, musty odor twenty-four to forty-eight hours after deep cleaning, which signals moisture has reactivated deep organic residue inside the padding.
-
Feel for soft, crunchy, or hollow spots beneath your feet, which suggests the underlayment foam has disintegrated or the subfloor panels have rotted.
When preparing an older home for market, replacing aged carpeting is one of the highest-return pre-listing improvements available. Scheduling a fresh carpet installation in bedrooms removes lingering home odors, eliminates inspection disclosure risks regarding old pet stains, and provides a clean, neutral palette that makes small spaces feel fresh and inviting to prospective buyers.
5. Inspecting Kitchen Cabinet Boxes and Supporting Substructures
The kitchen is universally recognized as the financial anchor of a residential real estate transaction. Buyers pay close attention to kitchen finishes, layout efficiency, and storage capacity. However, in older homes, heavy kitchen stone surfaces and solid wood cabinetry often conceal serious structural fatigue caused by age, weight, and hidden plumbing leaks.
Standard kitchen cabinets in older homes were rarely engineered to support the immense weight of heavy stone slabs. Over decades, the combined mass of heavy cookware, appliances, and natural stone tops causes upper cabinet hanging rails to pull away from wall studs and lower cabinet bases to bow inward. As lower cabinets sag or settle into uneven floorboards, the level plane supporting the heavy counter breaks down. This uneven stress places immense tension on natural stone surfaces, leading to hairline cracks along seam lines, cooktop cutouts, and sink edges.
If existing kitchen counters are cracked, stained, or resting on unstable cabinetry, replacing them prior to listing can dramatically boost your home’s market value. Working with a professional countertop installation crew guarantees that underlying cabinet boxes are leveled, reinforced, and fitted with proper sub-tops before new materials are set. Choosing a classic, durable granite counter provides buyers with a premium finish that resists heat, scratching, and daily wear, transforming an outdated kitchen into a major selling feature.
6. Evaluating Stone Fissures and Sealing Natural Masonry Work
Historic and vintage homes often feature high-end natural stone surfaces installed during previous renovations. While natural stone provides timeless elegance, materials like marble are softer, more porous, and far more brittle than synthetic quartz or granite. Over time, natural structural settling in an older home creates shifting stress points that target delicate stone surfaces.
Marble, in particular, contains natural geological veining that creates built-in points of structural weakness. As a home settles, subtle shifts in floor joists or perimeter walls transfer shear forces directly into kitchen and bathroom counters. A hairline fissure that began as an invisible internal vein can suddenly snap open into an active structural crack across a main workspace or sink cutout.
When preparing a home with natural stone surfaces for market, address these critical evaluation points:
-
Run a clean, un-gloved fingernail lightly across any visible veining lines near sink cutouts and corner seams to verify the vein has not split into an open crack.
-
Examine natural stone under directional light to identify dull spots, ring marks, or deep oil stains caused by acidic foods or improper cleaning agents.
-
Press down firmly with both hands on counter corners to ensure the underlying cabinet framing adequately supports the stone slab without flexing.
For homes featuring high-end materials, restoring natural surfaces before listing is essential. If your historic kitchen features a luxurious marble countertop, hiring a stone restoration specialist to fill hairline fissures with color-matched epoxies, polish out surface etching, and apply a fresh penetrating sealer restores the surface to pristine condition.
7. Auditing Exterior Trim Rot, Water Ingress, and Flashing Breaches

A home’s exterior envelope serves as its primary defense against wind, rain, and temperature extremes. In older properties, decades of exposure to ultraviolet radiation, rain, and thermal expansion take a heavy toll on wood siding, window casings, and decorative trim. While a fresh coat of paint is a popular cosmetic staging trick, simply painting over damaged exterior wood without fixing underlying rot creates serious disclosure and inspection liabilities.
Home inspectors use sharp awls and moisture meters to probe exterior wood trim, fascia boards, and window sills. When old paint cracks or chalks, rainwater penetrates deep into raw wood fibers, initiating fungal decay behind the paint film. Applying a fresh layer of paint over rotted wood traps moisture inside the timber, causing the new paint to bubble, blister, and peel within weeks of application. Furthermore, government-backed mortgage loans strictly prohibit defective, peeling, or flaking paint on older homes due to lead paint regulations, requiring complete remediation before loan approval.
8. Prepping Exterior Wood Surfaces and Applying Protective Paint Coatings
Before applying fresh exterior coatings, perform a thorough envelope audit to locate soft timber:
-
Gently probe fascia boards, corner posts, door brickmould, and window sills with a flathead screwdriver to identify soft, spongy wood that must be replaced.
-
Inspect seams where siding meets window casings and doors to ensure missing or dried-out caulk is removed and re-sealed.
-
Check that exterior wood siding maintains at least six inches of clear space above soil and mulched garden beds to prevent termite bridges.
Investing in proper exterior surface prep pays massive dividends when your home goes under contract. Engaging professional exterior painting contractors ensures that rotted wood is completely removed, seams are sealed with high-grade elastomeric caulking, and raw surfaces are properly primed before topcoats are applied. Hiring skilled home painters to complete thorough scraping, sanding, and painting elevates your property’s curb appeal while passing rigid mortgage inspection standards with flying colors.
9. Diagnosing Drafty Window Frames, Fogged Panes, and Thermal Leaks
Windows and exterior doors represent the primary operable openings in your home’s exterior shield. In older homes, original wood-framed windows and legacy doors are prone to frame racking, hardware failure, and severe energy loss. During buyer walk-throughs and home inspections, drafty, sticking, or non-functional windows create an immediate impression of poor maintenance and deferred repair.
Over decades of house settling, square rough openings in exterior walls shift into slight parallelograms. This movement binds window sashes inside their jambs, making them difficult to open or lock. In multi-pane insulated glass windows installed twenty or thirty years ago, perimeter seal failure allows moist air to penetrate the space between glass panes. This results in permanent internal fogging, chemical film buildup, and condensation drips that obscure views and destroy window insulation performance.
Audit all operable openings using these practical checks:
-
Hold a lit candle or infrared thermometer around window sashes and door perimeters on a windy day to locate flickering flames or cold air leaks.
-
Clean glass surfaces thoroughly to check if persistent haze, water droplets, or rainbow-like film remain trapped between the insulated panes.
-
Open, close, and lock every window in the house to ensure sashes stay raised without falling shut unexpectedly.
10. Re-Hanging Sticking Exterior Doors and Sealing Ingress Thresholds
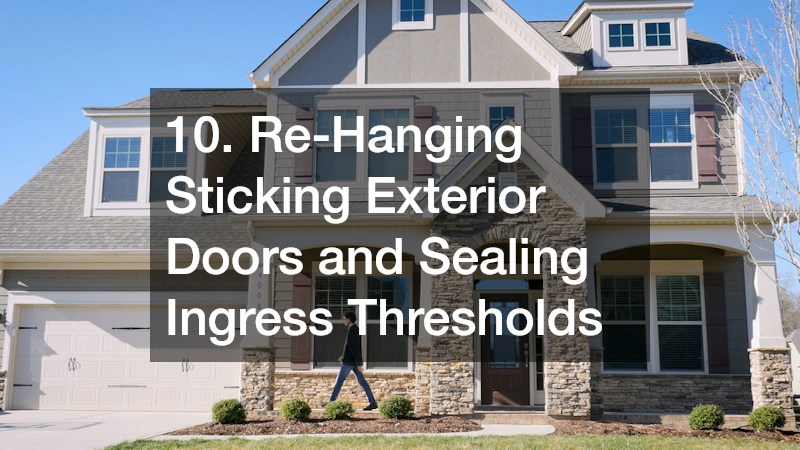
Addressing drafty openings and failing glass seals before listing eliminates major buyer repair demands. Partnering with reputable window companies allows you to replace failed insulated glass units or upgrade drafty single-pane openings with modern, energy-efficient double-hung units.
Additionally, hiring a qualified door installer to re-hang sticking entry doors, replace worn threshold seals, and install fresh locksets ensures smooth operation, tight weather seals, and an inviting, secure entryway for every prospective buyer. Taking care of operable entry points creates a positive, high-quality impression from the moment a buyer turns the front door key.
By systematically identifying and addressing hidden problems before putting your home on the market, you eliminate buyer leverage, prevent stressful contract renegotiations, and protect your hard-earned home equity. Taking the initiative to repair underlying structural, cosmetic, and mechanical defects guarantees a faster, smoother, and far more profitable home sale experience.